
How To Dual Boot Windows & Ubuntu
If you are like me and are getting annoyed with all of the ads and tracking built into Windows 11, you might be looking for an alternative. Today I will show you how to dual boot your system with the most popular Linux operating system called Ubuntu. All you will need is a computer and a flash drive with at least 8GB of space on it. Once you have those in hand let’s jump right into it!
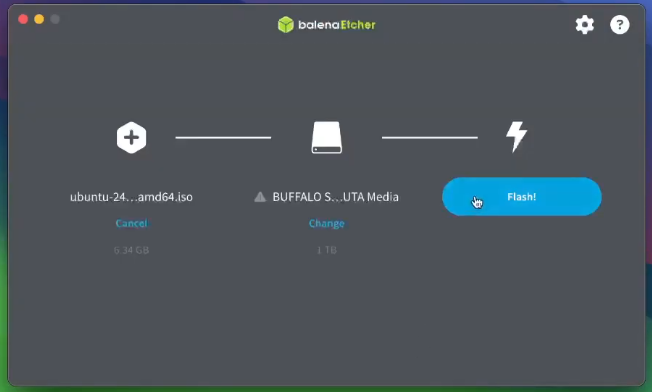
First we will need to download a copy of Ubuntu which can be found on their website. I like to use the LTS version which stands for Long Term Support. This will give you the most updates and security patches without having to worry about upgrading as soon. We also will need to have a program to write the copy of Ubuntu onto our flash drive so we can install it. I prefer to use BalenaEtcher and it works for Windows, Mac and Linux.
Now that we are ready to continue we will need to put the flash drive into the computer that we want to setup the dual boot on. Power on the computer and get into the BIOS or the boot drive selection screen. This will be different depending on what brand your computer is. For me I need to press F8 on my keyboard right after I turn it on so I can get to my boot menu. From there locate your flash drive in the list and press enter.
You will be welcomed to a screen with the option to Try and Install Ubuntu, just press enter or wait 10 seconds. It will take some time for the system to load as it is running the operating system from the flash drive. Fun fact you can actually install Linux on a flash drive and plug it into almost any computer and boot from the drive. Think of it as your own portable operating system!
The installation is very straight forward. For the most part you are just going to click next. Start off by choosing your language. The second screen will show you accessibility options if you need those. Ubuntu will detect your keyboard type and have you verify it. Next connect to the internet so the system can get online and get updates. Choose Install Ubuntu and press next. I prefer to use the interactive installation since I want to choose my options as I go, I also just use the default selection. When asked if you want to install proprietary software I check both boxes.
Now comes the part you have been waiting for. When asked how do you want to install Ubuntu you are going to want to install it alongside Windows Boot. Decide how much of your storage space you want to allocate for Ubuntu. You can use the slider or just type in the amount that you want. It is now time to setup your account by putting in your name, computer name and password. The time zone should be automatically set if you are online, if not just click where you live on the map. Finally we can press install and let the installer handle the rest.

Once it has finished installing it will ask you to restart the computer. Click the button and when the machine turns off remove your flash drive so that your computer doesn’t try to boot from it. When your computer powers up you will be presented with a screen called the GRUB loader. Here you can choose Ubuntu or Windows Boot.

Congratulations you have now setup your computer to dual boot Windows and Ubuntu! I have a short video if you want to follow along on my YouTube channel.